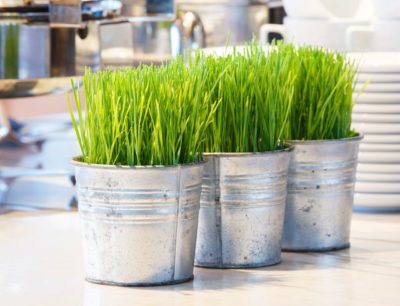
Wheatgrass is a superfood that you should add to your diet asap. The problem is that the cost of buying it over and over again can really add up over time. This might leave you wondering how you can get wheatgrass into your diet without going broke in the process. The answer – grow your own wheatgrass right out of your home! Believe it or not, it’s easier than you think, and I’m going to take you step-by-step through the process.
Step #1 – Buy supplies or a wheatgrass kit (recommended)
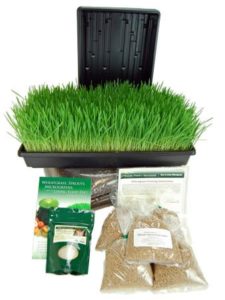
Sure, you could go out and buy every single item individually that you need to grow your wheatgrass, but you’ll save a lot of time and a headache if you buy a kit that has everything you need all in one place. I suggest you pick up the organic wheatgrass growing kit by Living Whole Foods, which I used to get started because it has everything you need (it also has lots of good reviews on Amazon). The only things you’ll need to purchase on an ongoing basis after buying the kit are wheatgrass seeds and potting soil which you can get in any home or garden store.
Step #2 – Soak your seeds until they sprout
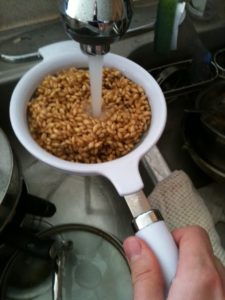
Before you place your wheatgrass seeds on your soil, you’re going to need to soak them until they sprout. You should take the amount of wheat berries you’re going to use (which the kit will specify) and place them inside of a large bowl that you fill with water. You’ll let this soak overnight or roughly 8-12 hours. After this, you’ll place these in a strainer of some kind and rinse them off. You’ll want to keep these in the strainer and rinse them off every 5-6 hours for anywhere between 1 to 2 days. Don’t worry too much about getting the hours precise though. For example, you won’t be able to rinse them 5-6 hours after you go to sleep so just rinse them when you wake up. At the end of 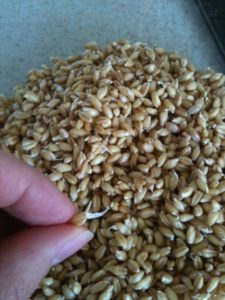
 the 1-2 days, you’ll notice that your wheat berries are sprouting and have “tails” coming out of them.
Step #3 – Plant your seeds
Put 1 to 1½ inches of soil in your growing trays and then spread your seeds over the top and give them a little spray of water. You should then place another tray over the top of the tray with the soil and seeds in it. This tray should have holes cut in it for ventilation. You’ll leave your trays like this for 3-4 days spraying a light mist over them once a day.
Important note: you should keep them out of sunlight as much as possible during this period.
Step #4 – Let It grow for 7-10 days
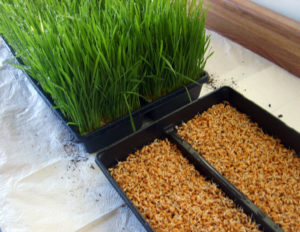 You’ll now want to take the top tray off and move your wheatgrass into the sunlight. Most people simply move their wheatgrass tray to a window where light is coming in. Depending on how hot it is in your area, you’ll either need to water your wheatgrass a bit more or barely at all. During this time you’ll also want to be sure there is some sort of air circulation in the room you’re growing them in to cut down the possibility of mold.
Give your wheatgrass 7-10 days to grow and then you can harvest!
If you have any tips or want to share your wheatgrass growing story, please leave a comment below!

